NEW BLOG HEADER SIZE
Showing posts with label tips. Show all posts

Saturday

10 Things Every Great Fashion Stylist Should Have in Their Kit

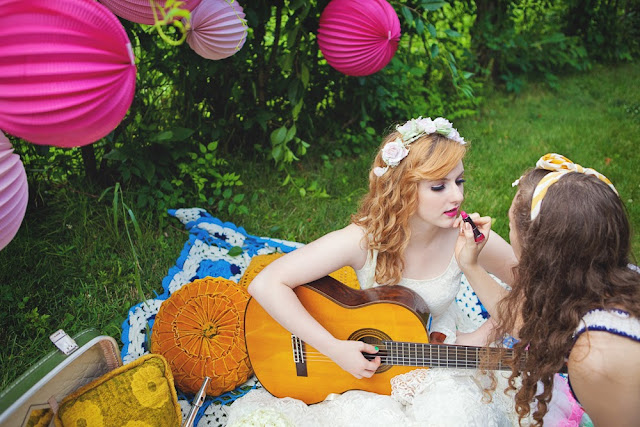
After interning in New York City for one of the most influential fashion stylists of the past 30 years and Fashion Editor at Large at ELLE Magazine, I have been humbled. I was instructed to "blow apart" her styling kit piece by piece and check to see what was missing, and what was ready for her next shoot (that shoot happened to be the Saks Fifth Avenue September Catalogue) which I also assisted on set. It was completely daunting and her kit was HUGE. It takes a lot of time and money to build up a successful and diverse fashion stylist's kit and a stylist is only as good as her tools and ideas. Some of my best ideas have been literally made on the set of a photo shoot and the fact that I was prepared made the difference between me executing my idea and "saving" the idea for another day. Of course I'll never share all of the secrets I learned interning in the studio, but I can take her kit into consideration when designing my own. I am  certainly not on her level and I'm self-taught. Here are the things I believe to be important when preparing to style a professional photo shoot. Just to clarify, I've never had a hair, make-up or creative director on set with me. It's all up to me, so I over compensate a bit.
1. Wooden Clothes Pins, Safety Pins, Hair Pins: I used to think these were annoying and tried to do without them. Now I'm glad I've learned the wonders they can produce in a pinch when clothing or hair just isn't sitting correctly.
2. Insect Repellant, Sunscreen, Sunhat, Umbrellas, Thermal Blanket, Allergy Medication: (for outdoor shoots): You never know what you'll be dealing with on an outdoor shoot, and it's best to be prepared for your models with these things in case if anything goes wrong. You need to be able to tend to their needs at a moment's notice... it's your job as a fashion stylist. Make sure to ask previous to the shoot if they have allergies or any complications that you need to prepare for.
3. Chicken Cutlets, Breast Tape, Pasties, Pedicure Sandles, Strapless Bras (in each model's size in black & skin tone), Back-up Tights, Socks, Nude & Black Thong Underwear: So here's the deal with tights and socks and shoes... I always have extras and I always let my models wear my tights, socks, and shoes. I always try to make sure they're in good condition and clean, and sometimes I cut full tights into knee socks when I can't salvage the whole tight. In the professional world- there are tights galore, but I am not rich. Be resourceful and think. How can you get the most out of your product? Write your ideas down. It's also important to learn about "chicken cutlets"... no, these are not food for your models, they are plastic breast enhancers that work kind of like a push up bra when the model cannot wear a bra due to the garment's structure. Ask the models to bring their flat shoes to walk to the location if it's outside. never take a chance to ruin heels while walking to the location.
4. Robes and Slippers for each model, Slips in black and nude: This really applies with studio shoots. Your models need to be able to eat and drink and walk on their breaks and you cannot be worrying about them spilling something on their garments. That is something you do NOT have time to be worrying about. If it's an outdoor shoot and it's cold, ask them to bring along their favorite coat, gloves, ear muffs (less likely to mess up their hair), etc. Slips are important, too. The model may not always have a slip on hand- it's your job to provide one that fits them.
5. Garment Steamer & Access to Water (or a jug of water): This is SO incredibly important to have a garment steamer on hand at all times. A photograph can pick up the smallest wrinkle and photoshop can do amazing things, but you cannot rely on that fact. Be professional. Steam your garments before the model wears them. NEVER steam a garment on a person!!! Make sure you have access to water to refill your steamer or bring a jug of water. If you don't have electricity, you'll have to do without and steam before you bring the garments to set. Here's hoping your garments won't get too mangled!
6. Organic deodorant & clear deodorant, Tissues, Tooth Brush and Tooth Paste: You need to have extra for your models and you need to consider that they may only wear the fancy organic deodorant. Also consider bringing a new tooth brush and tooth paste for each model. Tissues are great, too... you must always be prepared!
7. Clothing Racks, Hangers & Garment Bags with Labels, String, Tags: You need some sort of contraption to hang your client's clothing on, you'll need hangers, and garment bags to keep the clothes clean and tidy when traveling to and from the location. Make sure you label each bag because when it's returned to the client- it needs to hair their name and a list of the contents. If you're lucky, an intern of yours will return the garments after the shoot. If not, you'll be prepared either way! 
8. Tylenol & Advil (Ibuprofen): No one wants to deal with YOU if you have a headache and the model certainly doesn't want to have pain on the shoot. Be prepared with both types. 
9. Stain Remover & Static Guard: Shout Pens, Shout Wipes and Tide to Go are great and don't rely on photoshop to "shop out" the stains that might occur. Be professional and make sure they don't appear. Make-up remover is important, too! Static Guard is your BFF!
10. Snacks and water: If a model faints because you were neglecting them... well, that's your fault. Make sure you ask your models and crew before the shoot if they fancy any particular healthy snacks you can bring for them. Always bring WATER. Keeping hydrated is pivotal!
Disclaimer: If you're touching up make-up yourself, I recommend bringing q-tips. extra make-up you'll need, clean brushes and powder with clean sponges for application.
If you're also bringing props and decorating the set, don't forget scissors, tape, and try to think ahead of time if your models will be sitting down on a crochet blanket. If the ground is not dry, bring an extra blanket to place under the crochet blanket to absorb any residue. Don't let the ground ruin your model's clothing! As always, take behind the scenes photos and try to have a good time! XO

Monday

Washing Your Synthetic Wig

I have to admit that I've been a bit worried about washing my wig. I have had this pink wig since about June or July 2013 and I have been wearing it A LOT. This wig traveled with me to New York City and back- it's been worn to a wedding and countless photo shoots. Needless to say, I've washed my wig cap frequently- but this was the first time I washed my wig. It's very important to remember what your wig can handle. Mine is synthetic (plastic) so I can't use any heat on it. I soaked it in the bathtub in cold water and didn't try using any shampoos or conditioners on it. I soaked it for a good hour and it really helped a lot! It's ok to hang it on a pants hanger with clips for it to dry. Make sure you don't use hot water if your wig is synthetic- it won't be able to handle the heat! You can, however, disinfect it with Isoprophyl Alcohol in a spray bottle. Don't use too much- it could potentially fade the color. Make sure to soak the wig in cold water after disinfecting. 
syeYiX on Make A Gif, Animated Gifs
It's pretty simple, but I would like to hear about other ways to clean synthetic wigs, too! I had also dropped this wig in some mud and the dirt just came off in the bathtub... not harmed! Do you know of any tips for cleaning synthetic wigs, too? How about styling them?
love, polly

Friday

Tips on Removing Stains from Delicate Vintage Clothing

I get a lot of questions about how I remove stains from my vintage clothing and I thought it's about time I wrote a post. It's pretty simple, really... but you may have never thought about it ever before. RO4za_ on Make A Gif, Animated Gifs
1. Soak your item in the bath tub with HOT water. My Mother sees me do this and she almost gets angry at me because she was brought up on the fact that you soak delicate things in cold water. I actually learned from my Costume Construction teacher that cold water sets the stains, believe it or not. She's been in the costuming business her whole life, and she knows what she's talking about. If you don't soak your old and probably sweat stained item of clothing in hot water, it won't permeate the stains as well and kill dust mites. Trust me, you will see the yellowish color of the water (or sometimes brown!) and you'll feel better about taking out the stains.
2. Use vinegar, then rinse. Many people underestimate the uses of vinegar. Vinegar can also help to remove some old stains and odors on old clothing... just make sure you rinse the item in water after you drain the tub of the 1 part vinegar and 2 parts water mixture.
3. Try Woolite. My Mother has been hand-washing clothes in Woolite for as long as I can remember. Just swish your clothing around in the tub until you feel like it permeated, then rinse with cold water.
4. Try two or three rinses. If a piece of clothing is really yellowed and stained, you will see this in your water. Don't let your piece of clothing wade in the dirty water for too long. Drain your water and start a 2nd bath. Repeat if necessary.
5. Hand Dry. Whatever you must do... DO NOT put the piece of clothing in the dryer! This will ruin it even on a delicate cycle. When you have a sopping wet piece of clothing, wring it out as best as possible, then lay it on a towel or two. If you have a drying line, drape the towel over the line, then the item. It's best to put a towel on the floor to absorb the dripping water. If you don't have a drying line, you can always lay your piece on top of a towel on the floor. Check your towel every 3 hours to replace (prevent it molding). It should dry in a day or two depending on how much bulk you have.
6. Turn it over. It's good to rotate the item on top and bottom. Allow the piece to soak thouroughly. Approximately 15-20 minutes each bath session. Swish it around but if it's hot water- use dish gloves to protect your hands.
7. Bleach. I know what you're thinking.... BLEACH?! But really, on items that are solid white or old lace.... it works wonders. Don't be afraid.... just rinse it really well with cold water. Don't let the item soak in bleach for over 5 minutes. Make sure your item is completely wet before adding the bleach into the tub of water... you will avoid uneven spots this way.
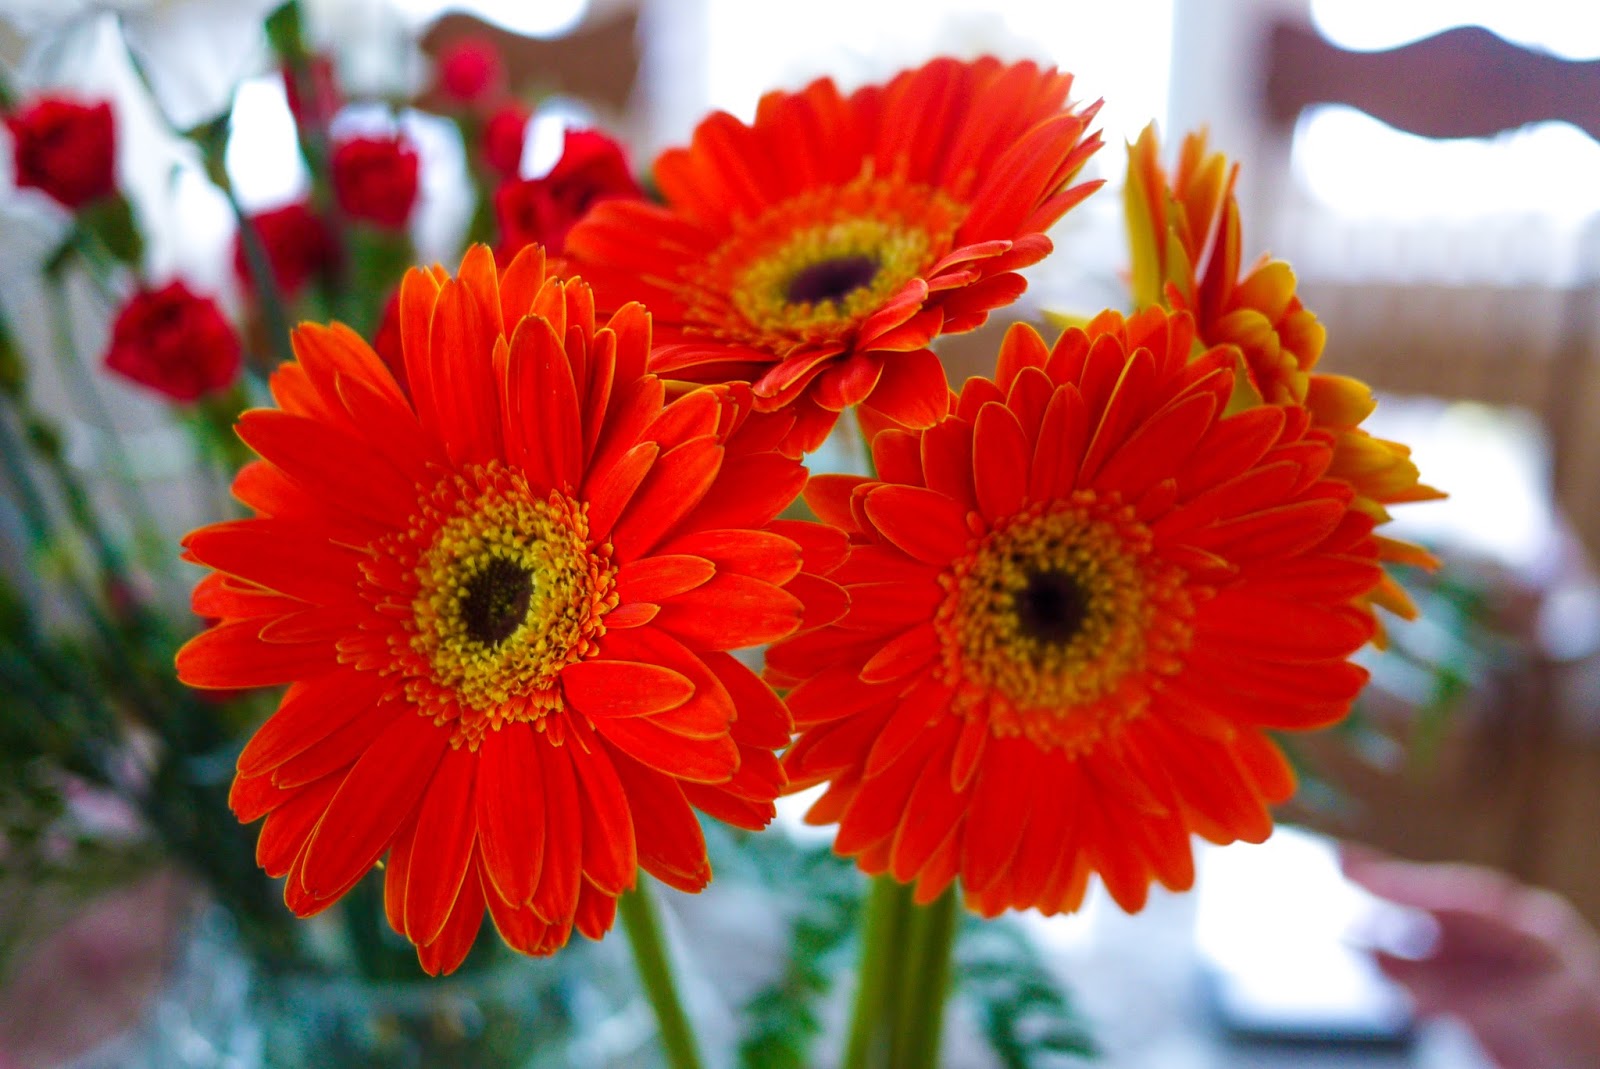
How was your Valentine's Day? I worked all day and then my Dad surprised me with these orange daisies (one of my favorite colors) and chocolate strawberries. He bought my Mom red and white carnations... just like she asked for. Haha. Naturally, I got my parents an antique Calling Card from Rebecca's Antiques... my second job. It was a good day. Not lonely at all... and it was nice :D
love, polly

Sunday

Tips on Pressing Flowers

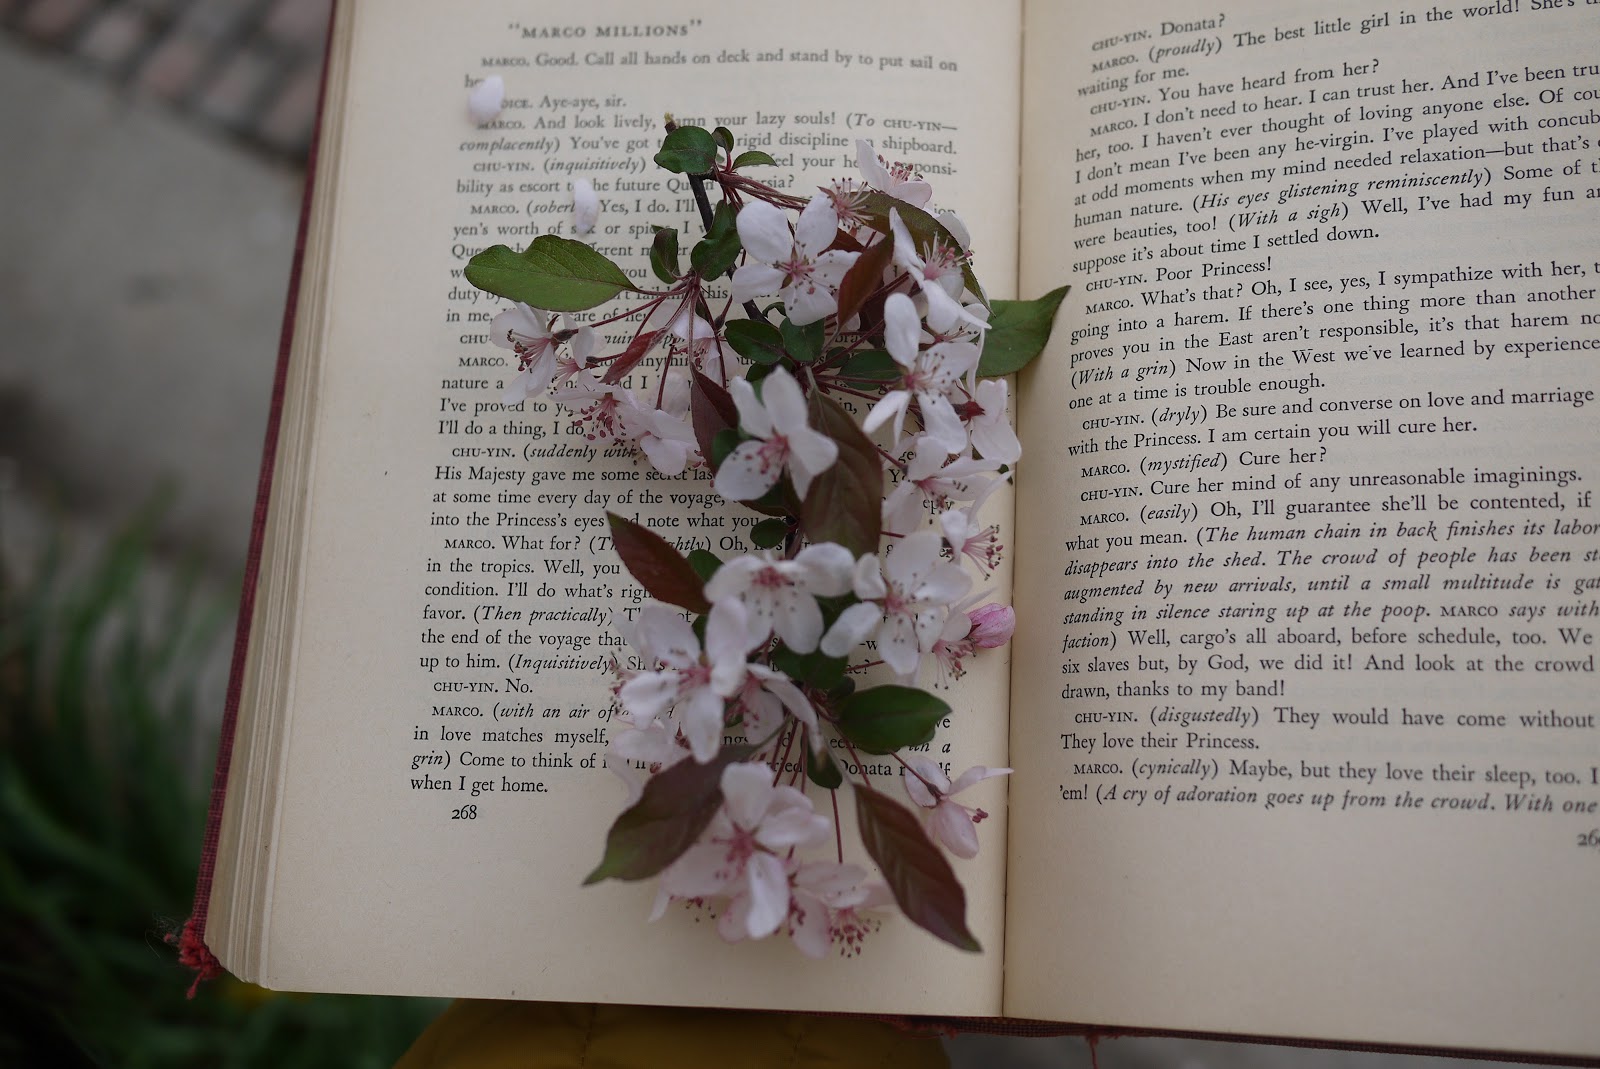
Hi, lovelies! I've really enjoyed every step of learning to teach myself to press flowers and I've been avidly pressing flowers and leaves for a little over a year now! I thought I'd share my knowledge and tips with you because I've had a few people asking me for advice and telling me they'd love to try it! There are a few helpful tricks I would have wish someone would have shared with me before I started.... here's what I've learned so far!
9 tips on pressing flowers: 
1. Choose the day/weather you pick your specimens wisely. If it just rained or snowed.... it's a terrible time to pick flowers because they are damp and will ruin your beautiful books and bleed through a lot of layers! This warps your binding and crinkles pages. They also won't keep their shape and color as well.
2. There are some flowers that just don't press well. You will learn this with trial and error. Large bulky flowers are a no go unless you want to press individual leaves or you have a large thick book. If the flowers are too bulky then they will ruin your book binding and it won't close properly, which is important for a seal. Tulips are hard to press, (because of the bulk AND pollen stamens) but if you press the petals... it works better!

3. Avoid pollen. Pollen will ruin your books and just get all over the place! Nasty! It smells horrible, too (I am extremely allergic).

4. Make sure your book isn't packed too full and can close all the way around your flower so no oxygen can get to it. Oxygen turns the color of your beautiful flowers brown and makes them disentigrate faster. Try to stack books on top of each other for more pressure. The tighter your book is held in between other books/ the more weight on top of your book, the better chance you have of a perfect result.

5. Press first, then go back and rearrange. Have you ever pressed a flower and just left is and it wasn't so great? The first initial press doesn't have to the the only one! Press your flower flat in your book and come back to it a couple minutes later and arrange it the way you like! Your results will be much more controlled!

6. I suggest going on nature walks as much as you can with at least three thick books to gather your flowers and leaves! Invite your friends, too!

7. As for the gestation period, it depends specifically on the individual specimen. I usually wait about a week before unveiling the pressings. If they feel completely dry, you are free to decorate with them anywhere you like! I keep mine in a green paper box! I would also consider individual plastic bags for very fragile flowers.
8. If you're unsure, just try it! Don't be afraid to press any flower.... try hydrangeas, too! They look huge and bulky, but if your book is big enough then be adventurous! They're my favorite flower to press :)
9. I bought some cute washi tape to hold down my pressed flowers while displaying them in my portfolio! You could glue them, too!

I hope this helped you and inspired you to start pressing your first flowers and leaves! Happy Spring!
love, polly

Thursday

The Difference Between Retro, Vintage, and Antique..

In case if you've ever wondered what technically defines something as vintage, retro, or antique (like I have more times than I can count...) you're in luck! I know I've been on the borderline for quite some time and it's nice to finally know the exact answer..
antiques: According to Merriam Webster, an antique is "a work of art, piece of furniture, or decorative object made at an earlier period and according to various customs laws at least 100 years ago." Make sure that if you're listing something as "antique clothing" that it is AT LEAST 100 years old (this is different with cars).
 Here is an antique wedding dress from the 1900's my Grandmother Kutch gifted to me from her antique store called, "Plain Jane's Antiques"
vintage:Although widely misused, the term "vintage" refers to an item that is at least 20 years old or more (there you go, you 1980's fans!) I know I hate seeing it misused and overused because it is such a fanatic thing today for something to be "vintage." One of my teachers at school insists that the term vintage should not be applied to any object under 50 years old. This is currently up in the air, but at least twenty years is the accepted age to deem objects under the "vintage" category. True vintage could be categorized at least 50 years old. "New vintage" is a term I've heard describing 1980's barely vintage items.
Here I am wearing a vintage dress owned by my Great Grandmother Frisina in the 1930's and 1940's.
Retro: retro simply refers to anything that looks out of style for the current time period. This could be clothing that was popular in the late 1990's (not technically vintage,  yet) or any new design that references designs or ideas of the past. This also seems to be somewhat interchangeable with the word, "vintage inspired." The 1970's are often referred to as "retro" although they are technically over 40 years old... which can be (in my eyes) considered "vintage."
Here's a dress I bought at Modcloth that is retro, or "vintage inspired."
I hope this cleared up some minor confusions for you like it did for me! 
love, polly

Saturday

listen to your own voice...

There has been something that has been bothering me, lately... and, it's reading too much advice from other bloggers on what they think you should blog about, and what should be off limits to you. In my opinion, no one should give advice like that. Since it's your blog, you govern the right to say whatever you'd like, whenever you'd like to say it. I just want others to listen to their very own voice and realize (if you're feeling pressured) that no matter what type/style of blog you have... it's yours and that is a special thing. Don't wish you had someone else's blog and start blogging (or not blogging) about certain things to cater to them. I've made this mistake, and it really bothers me that others have, too! Just stay true to yourself and let your emotions pour out...
Of course, having boundaries for your blog is a very good thing at times... and I know I have them. Those boundaries about what you will and you won't say are totally up to you! If you're interested, I'll tell you a little bit about my boundaries that I set for this blog, personally...
1. No cursing 
2. No nudity
3. No bashing other people
I always want to make sure that this blog stays appropriate for all ages to be inspired. I don't want my blog to be off limits or considered rash in the eyes of parents. I want to keep it family friendly... and this is my personal goal. Yours may be different and that is okay! The beauty of blogging lies in diversity.
I love my blog! (and I'm SO not ashamed!) I hope you have a blog that relieves your stress
and it's a happy place for you!!
love, polly

Wednesday

5 steps to a better blog for YOU!

Hi, there! I've been thinking lately about loving your own blog.. and there are many ways to achieve this! I personally love being on my own blog (don't be ashamed if you do, too... it's a GREAT THING!) Actually, you may love your blog SO much that you no longer feel the need to read ANY further.. THAT IS GREAT! JUST STOP NOW! For the rest of us who don't quite love our blog to infinity and would like a few suggestions.. here are some pointers on radically self-loving your own blog!.
1. Make your own inspiration. THIS is number one because often I found myself waking up to immediately check other blogs rather than my own! If you do this- what does it SAY about your blog? If you won't visit it, nobody else will, either! Make sure you love spending time on your blog. Ask yourself: what have I DONE that is inspiring to other people today or yesterday? Make something happen. Blog about it. Take pictures. Go on an adventure to find pretty things. Craft something. Don't be a copycat (did I just use that phrase? lol). BE YOUR OWN INSPIRATION.
2. Send out your love. If you don't try to meet people through blogging, then you don't care about this post. If your blog is just for you and you don't care about making life long relationships that will one day turn into reality then you can probably stop reading now. I personally have found that blogging has helped me in SO many ways and among those ways is: new friendships. The point of number two is to get out there, leave comments for others, guest post for your favorite bloggers, aspire to be friends with someone who you look up to! Bloggers with friends in the blogging community usually always have stronger blogs because they feed off each other and help each other! It's also another way I've come to acquire sponsors. :D
3. Keep an organized archive. Once I did this, it was SO much easier to look back at the past in a no hassle, no fuss way! I can't recommend LABELS to you enough.. and, it's fun when you stumble upon a new blog and you see all of their little side buttons with their categories (all you have to do is add 'labels' when you go into the design section of your blog.. then every time you write a new post, the little 'Labels:' section shows up! It's wonderful!)
4. Get a decent camera. I don't have the snazziest camera, and I am saving up for a much nicer one in the near future.. but it does the job decently. It helps to have a jar by your bed that you CAN'T get into where you can deposit money for a new camera. No one will like spending a lot of time on your blog if you don't have pretty photos that YOU took YOURSELF. Otherwise, what's the point? It should be YOUR blog filled with YOUR adventures! (and that's fun!)
5. Make a desktop folder labeled, "inspiration" Ever seen a really inspiring photo on a blog that you wish you'd saved? We all have! This is a way to save it and remember why it inspired you! I've been doing this for a few years now and I couldn't be happier about it. Blogging about it is another story. Usually, I look at the photos to BE inspired, and then I take my own twist from the inspiration and make my own projects! It's getting to point where blogger is NOT tumblr, weheartit, flickr, pininterest, etc, etc, etc. and you probably already have one, two, or all of those sites where you already share your inspirations. Take your own photos and post them! That is really what other people want to see! This being said, most don't mind inspirational posts when they have themes or they're all taken by the same photographer.

good luck loving your blog even more.
love, polly :)