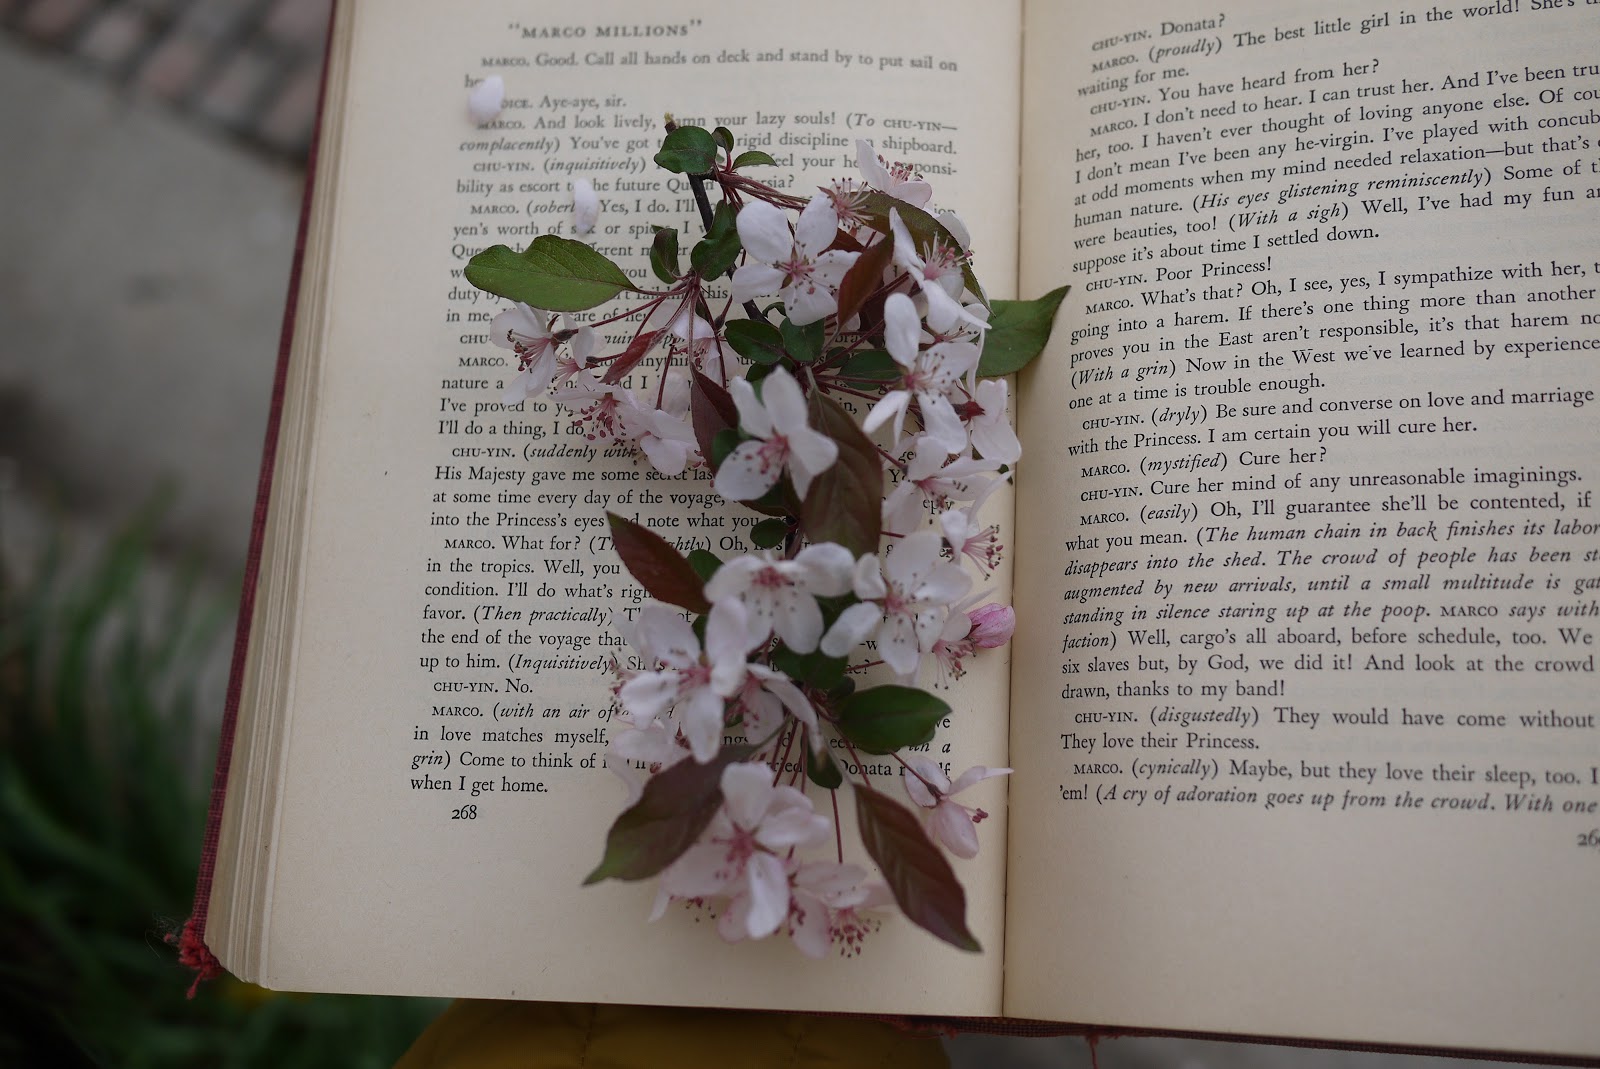
Hi, lovelies! I've really enjoyed every step of learning to teach myself to press flowers and I've been avidly pressing flowers and leaves for a little over a year now! I thought I'd share my knowledge and tips with you because I've had a few people asking me for advice and telling me they'd love to try it! There are a few helpful tricks I would have wish someone would have shared with me before I started.... here's what I've learned so far!
9 tips on pressing flowers:
1. Choose the day/weather you pick your specimens wisely. If it just rained or snowed.... it's a terrible time to pick flowers because they are damp and will ruin your beautiful books and bleed through a lot of layers! This warps your binding and crinkles pages. They also won't keep their shape and color as well.
2. There are some flowers that just don't press well. You will learn this with trial and error. Large bulky flowers are a no go unless you want to press individual leaves or you have a large thick book. If the flowers are too bulky then they will ruin your book binding and it won't close properly, which is important for a seal. Tulips are hard to press, (because of the bulk AND pollen stamens) but if you press the petals... it works better!

3. Avoid pollen. Pollen will ruin your books and just get all over the place! Nasty! It smells horrible, too (I am extremely allergic).

4. Make sure your book isn't packed too full and can close all the way around your flower so no oxygen can get to it. Oxygen turns the color of your beautiful flowers brown and makes them disentigrate faster. Try to stack books on top of each other for more pressure. The tighter your book is held in between other books/ the more weight on top of your book, the better chance you have of a perfect result.

5. Press first, then go back and rearrange. Have you ever pressed a flower and just left is and it wasn't so great? The first initial press doesn't have to the the only one! Press your flower flat in your book and come back to it a couple minutes later and arrange it the way you like! Your results will be much more controlled!

6. I suggest going on nature walks as much as you can with at least three thick books to gather your flowers and leaves! Invite your friends, too!

7. As for the gestation period, it depends specifically on the individual specimen. I usually wait about a week before unveiling the pressings. If they feel completely dry, you are free to decorate with them anywhere you like! I keep mine in a green paper box! I would also consider individual plastic bags for very fragile flowers.
8. If you're unsure, just try it! Don't be afraid to press any flower.... try hydrangeas, too! They look huge and bulky, but if your book is big enough then be adventurous! They're my favorite flower to press :)


9. I bought some cute washi tape to hold down my pressed flowers while displaying them in my portfolio! You could glue them, too!
I hope this helped you and inspired you to start pressing your first flowers and leaves! Happy Spring!
love, polly